


To set up a membership website using Paid Memberships Pro, you need to follow these steps:
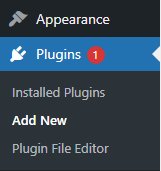
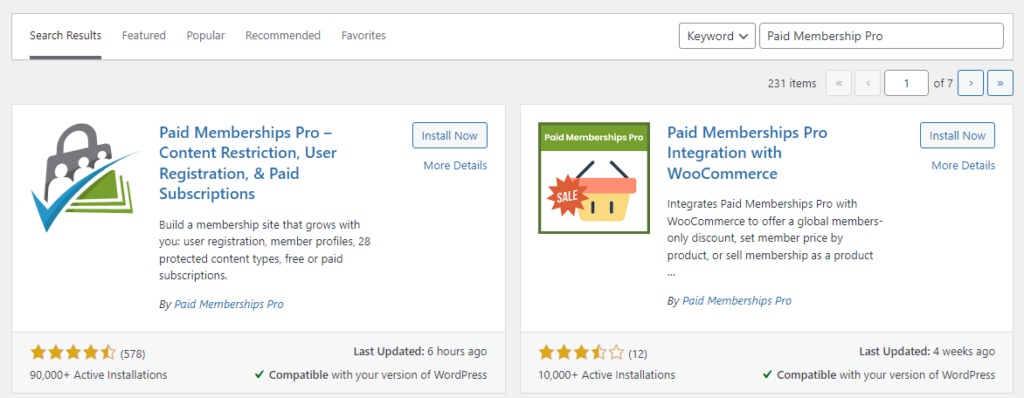
Goto Dashboard > Plugins > Add New. Then, search for “Paid Memberships Pro” and click on Install Now. Once the plugin is installed, click on Activate.
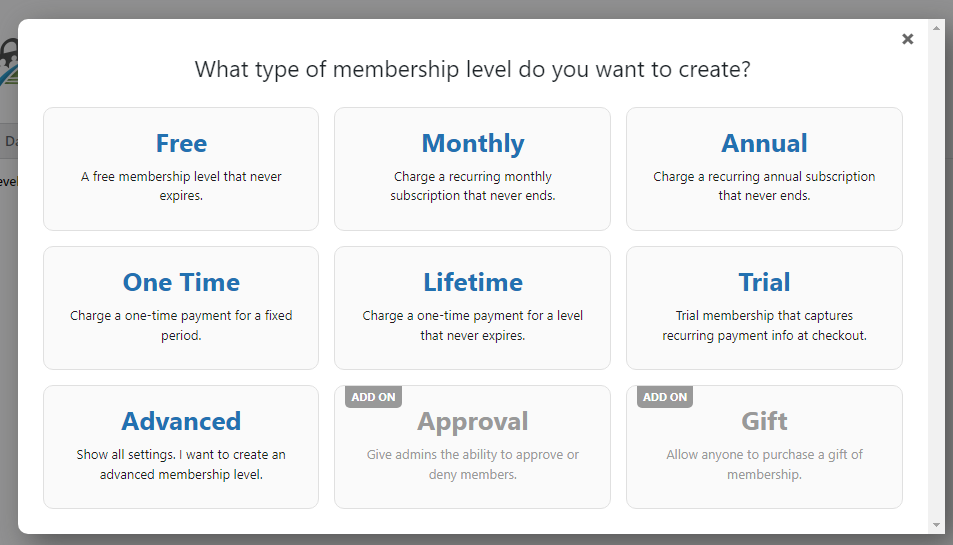
Create membership levels
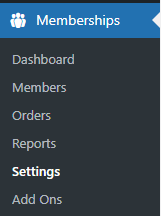
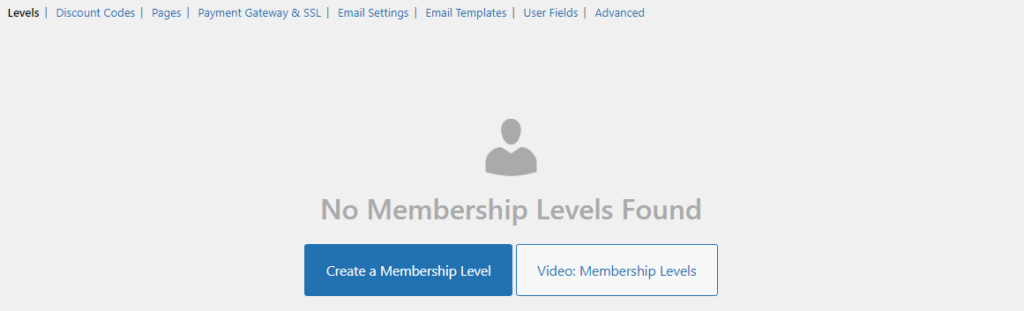
Go to Memberships > Settings > Levels > click to Create a New Membership Level.
Now you have show multiple membership type option show you have create now
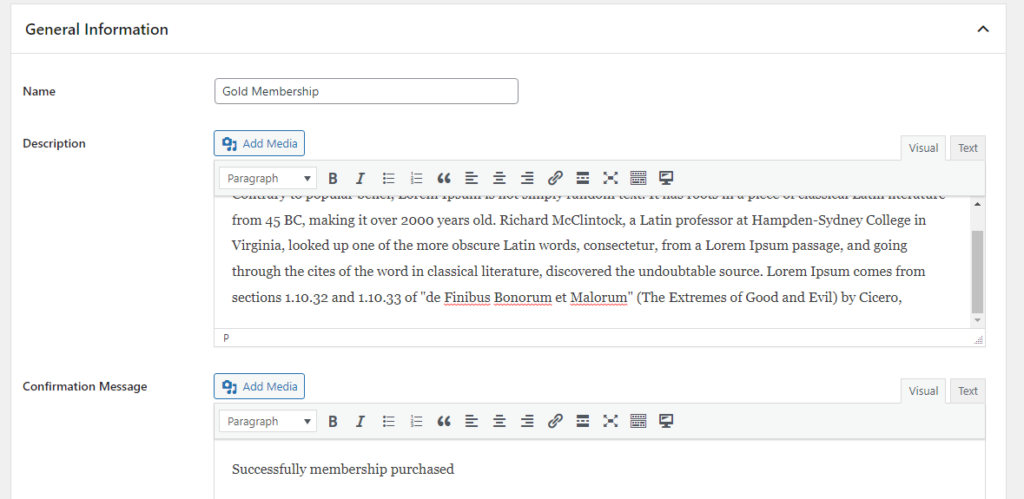
Create a membership content. Go to Membership > Levels and click on Add New. Enter a title for your membership content and choose the membership level that you want to make it available to now and Publish membership now.

Set up membership pages
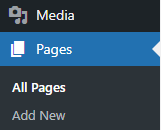
Go to Pages > Add New and enter a title for your membership page. Then, add the membership shortcode and published page now.
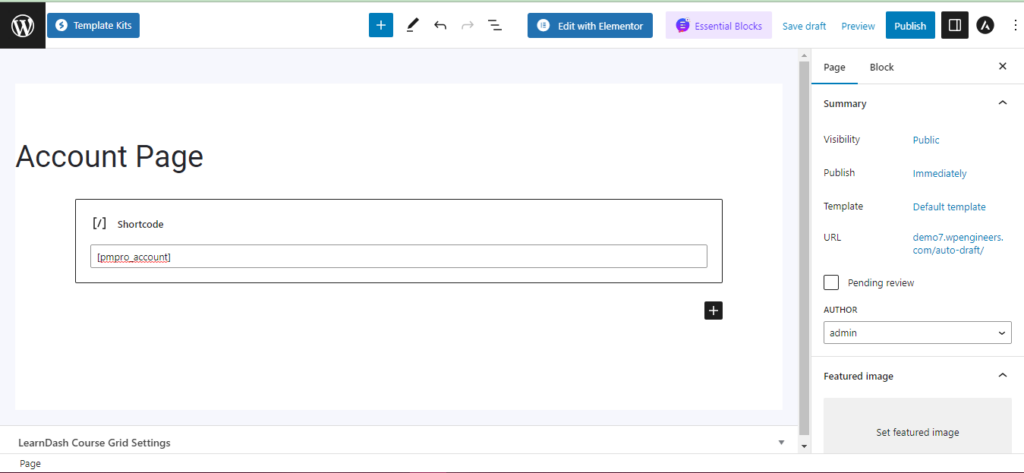
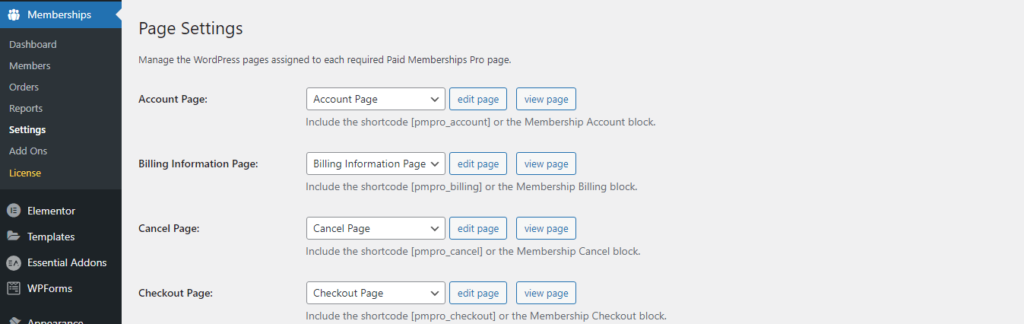
After creating all membership pages so goto Membership > Settings > Pages and attach all memberships pages now and click to Save Button now.
Add a payment gateway
Go to Membership > Setting > Payment gateways & SSL option click so you have multiple payment gateway options shown now.
- Pay by Check
- Stripe
- PayPal Express
- Paypal Payflow Pro/Paypal Pro
- Paypal Standard
- Authorize.net
- Braintree Payments
Before you commit to a payment gateway, do your research to find out which provider best fits your needs.
To add a payment gateway provider, select Payment Gateway and SSL under the Settings tab. Then select your chosen payment gateway and follow the instructions:

Once you have finished, click on Save Settings at the bottom of the page.
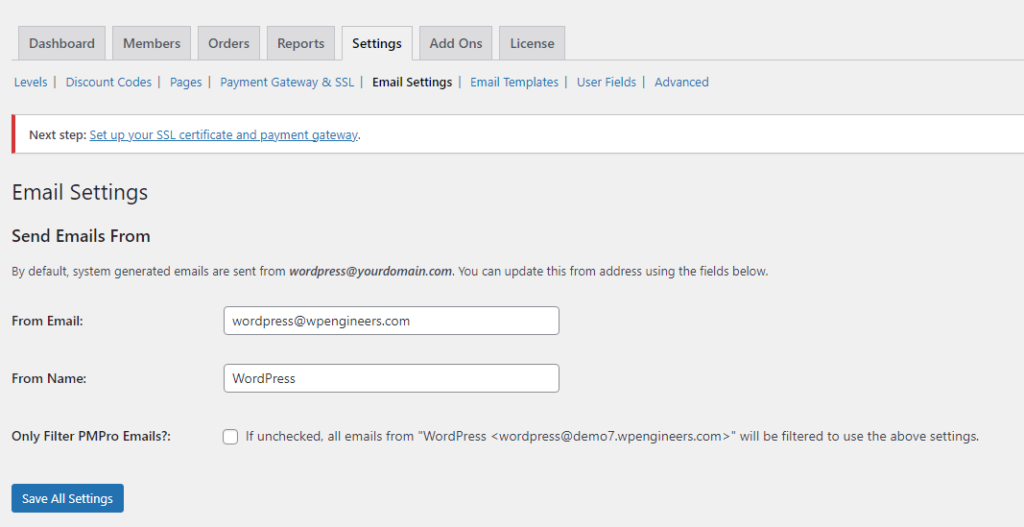
Set up email
Go to Membership > Setting > Email Settings option click so you have shown the email configuration option. Then add your email address and name into the From Email and From Name fields and click to Save All Setting Button.
Set up Restrict Content Access
Last step on how to start a membership site is to choose what content to restrict.
Now Goto Pages / Post and Create a new page/post and then within the Editor and select the same page to restrict in the Membership Level settings.
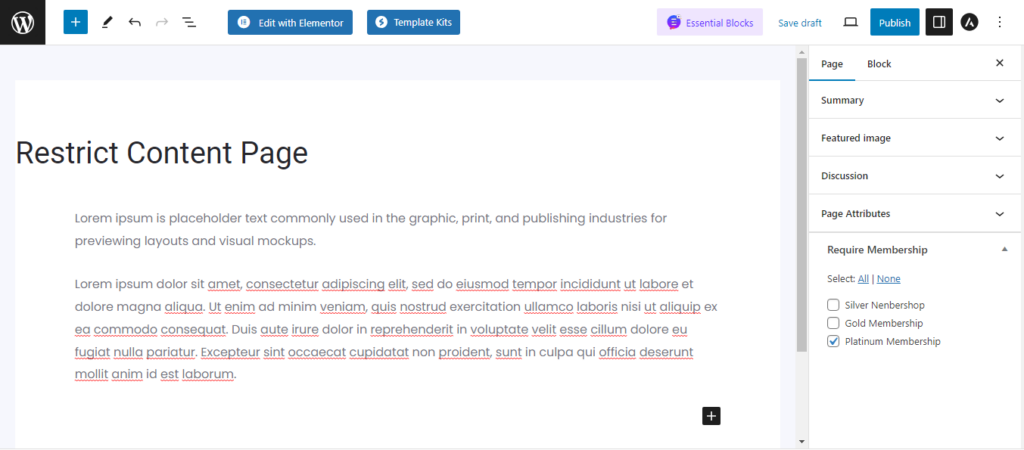
Then Publish the page or post. You should now go through and open each web page and blog post to check that access has been restricted, and can be viewed by those on the appropriate plans.
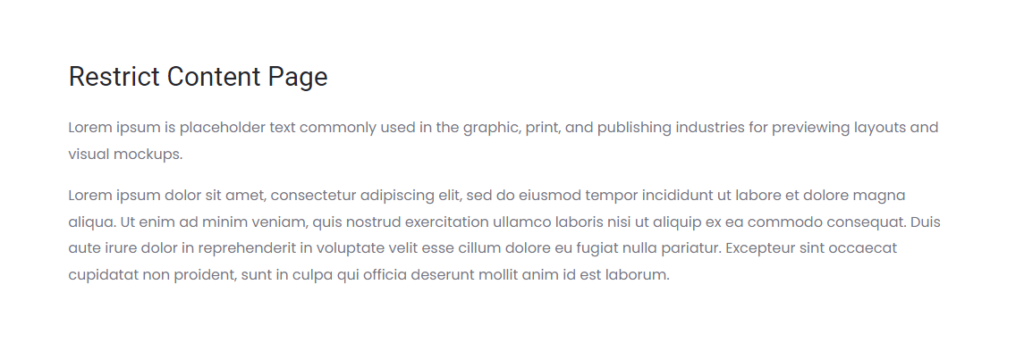
Membership Assign User Preview
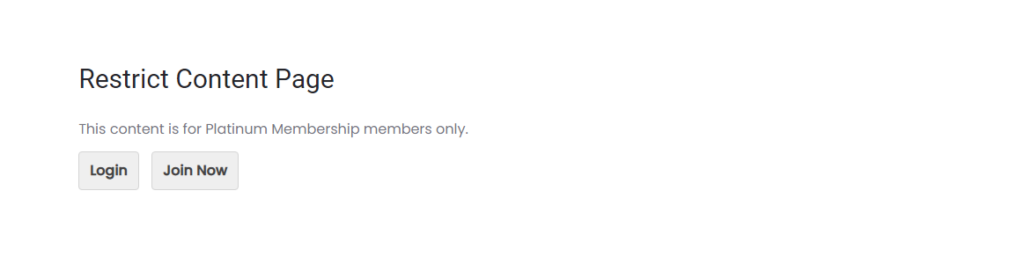
Non Membership User Preview
Your membership website is now set up! You can now start promoting your website and inviting people to become members.